


Build complex admin panels faster with a premium fullstack tool featuring ready to use Laravel CRUDs and Livewire & Alpine.js integrations. We partnered with UPDIVISION to help you cut up to 90 hours of development time for a wide range of admin panels: blogs, lightweight e-commerce platforms, SaaS apps.
Volt Dashboard PRO Laravel is a powerful, versatile dashboard which comes with the most commonly used CRUDs in any app: #users, #roles, #items, #categories, #tags. Add in a clean design with over 800 handcrafted UI components and you`ve got an awesome starter pack for building web apps.
You're getting a multi-purpose tool for building complex apps. Complete with a clean, elegant design.
Volt Dashboard PRO Laravel at a glance:
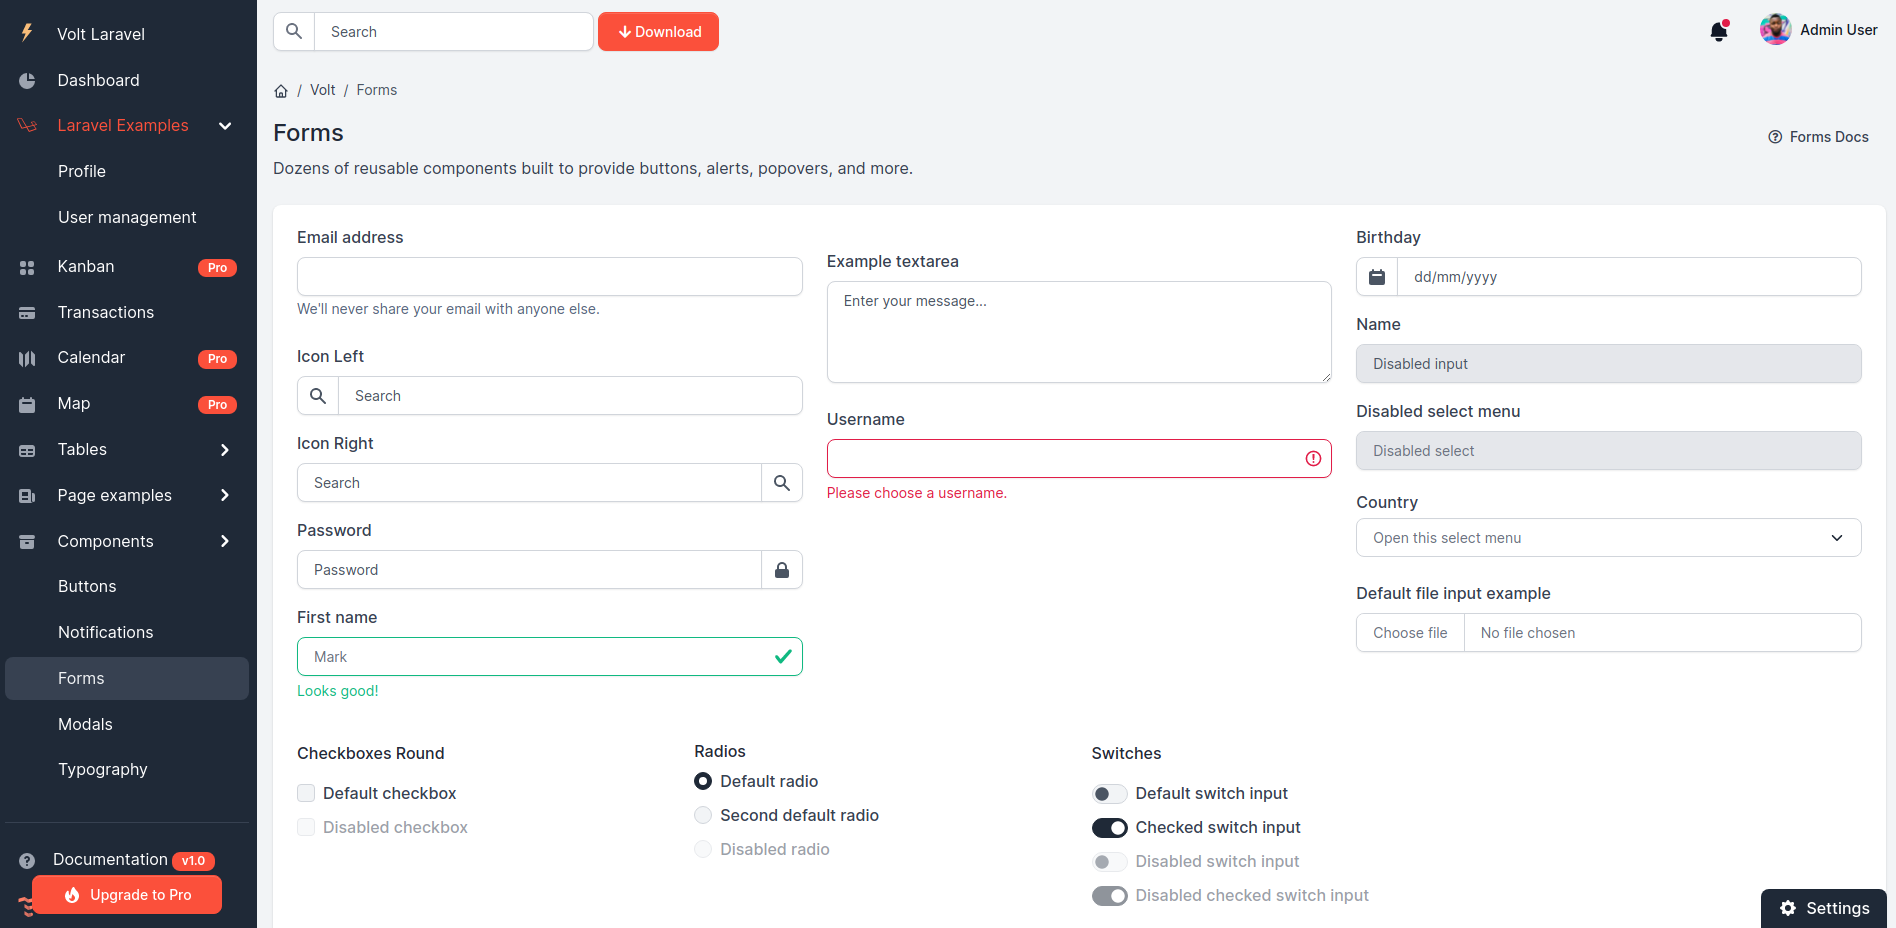
- 800+ handcrafted Bootstrap 5 UI components to make your app stand out. From buttons and forms to alerts and datepickers.
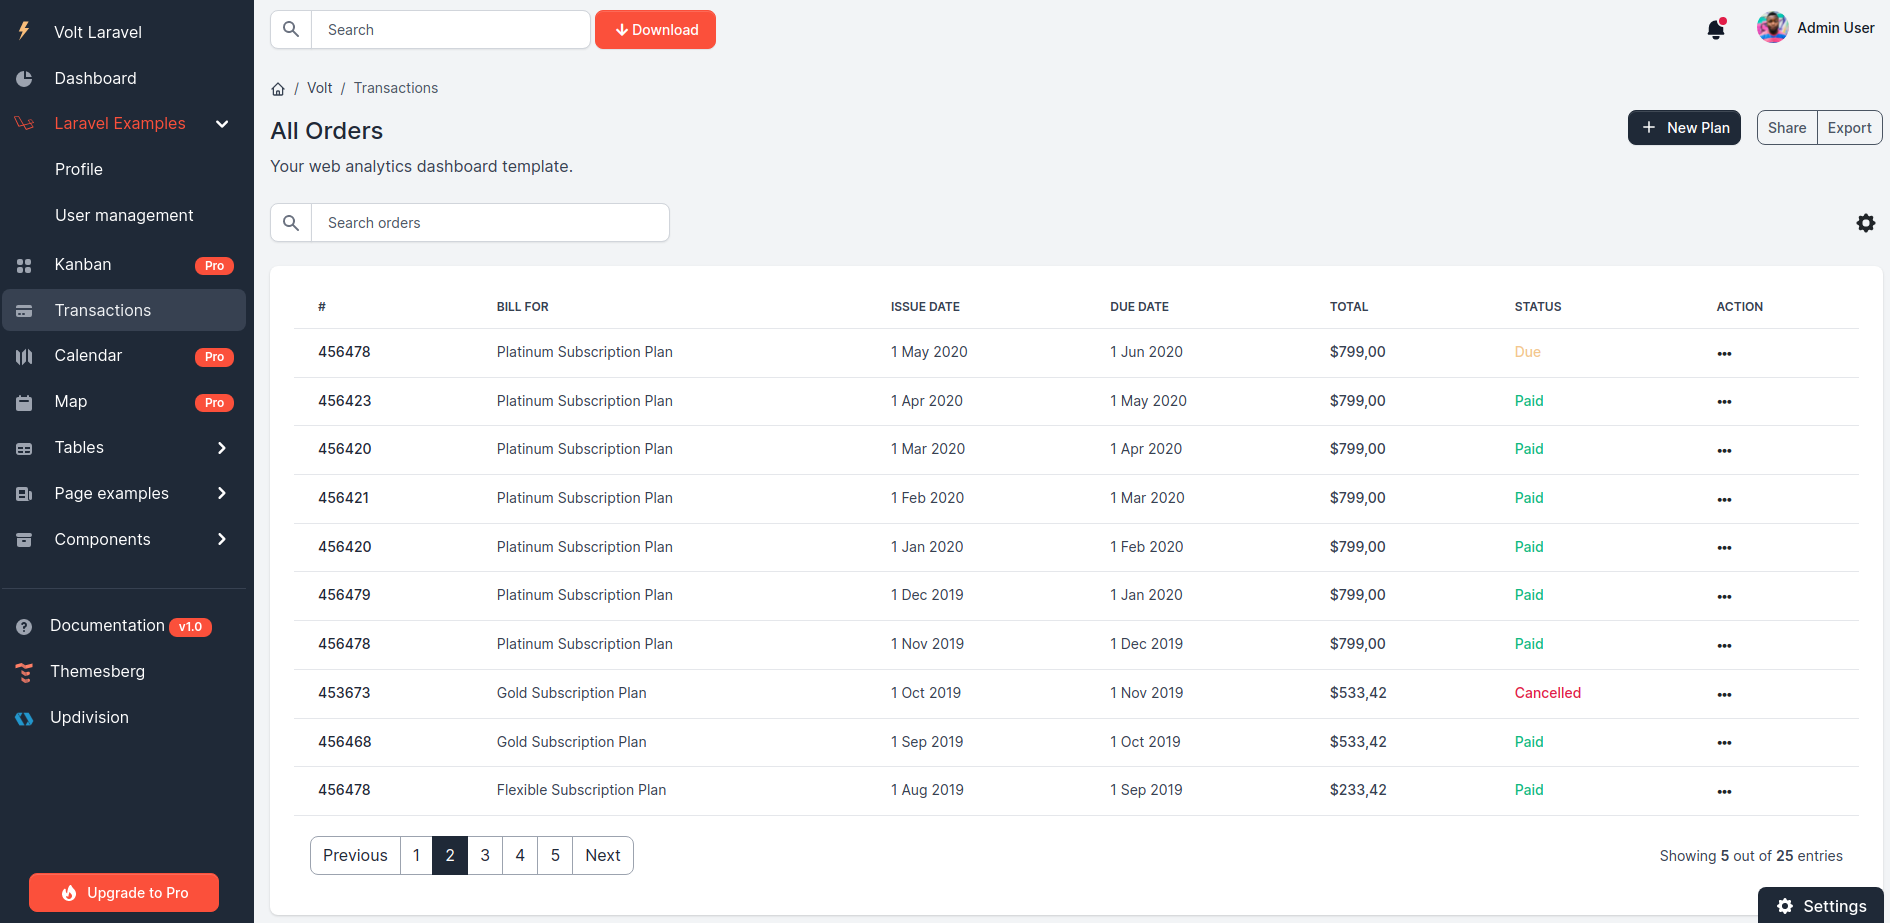
- 21 example pages to get you started, including sign up page, transactions, Kanban board & more
- 10 lightweight plug-ins
- Laravel CRUDs for the most used functionalities in any CMS: role-based authentication system, my profile, CRUDs for managing users, roles, items, categories and tags
- SaaS files & Gulp commands
- Livewire & Alpine.js integration
- Documentation for each component so you can get started fast
The backend is fully integrated, meaning you can easily tick all the boxes for a fully-functional admin panel for your custom application. You have hundreds of UI components to choose from, which you can easily edit using Sass files and classes. In short, everything you need so that your app looks like you want it to look and does what you want it to do.
Check out the open-source demo version for a taste of what Volt Dashboard PRO Laravel has to offer.
- Versions
- Demo
- Quick Start
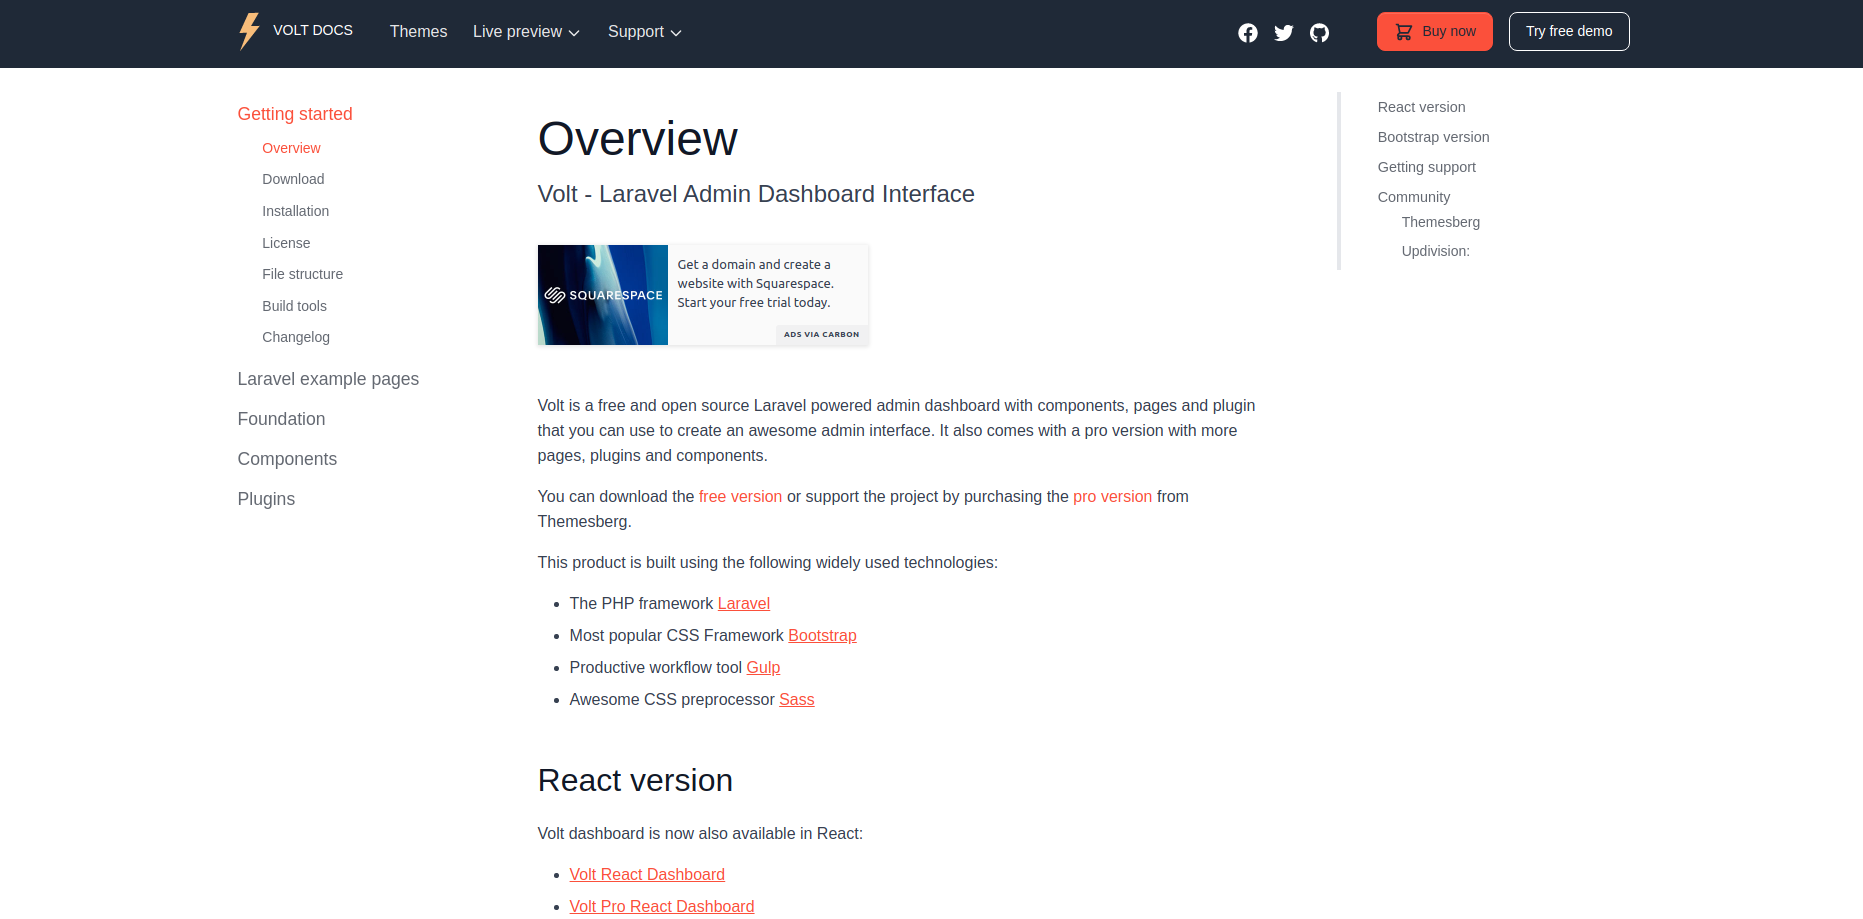
- Documentation
- Browser Support
- Resources
- Reporting Issues
- Technical Support or Questions
- Licensing
- Useful Links
![]()
![]()
.
| HTML | React | Laravel |
|---|---|---|
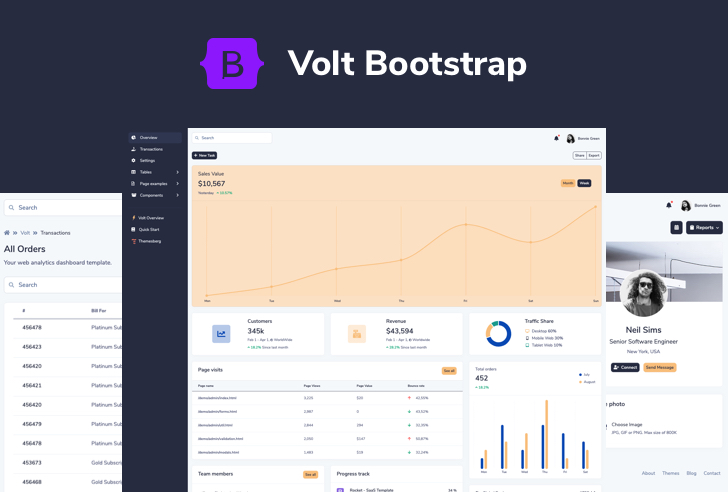 |
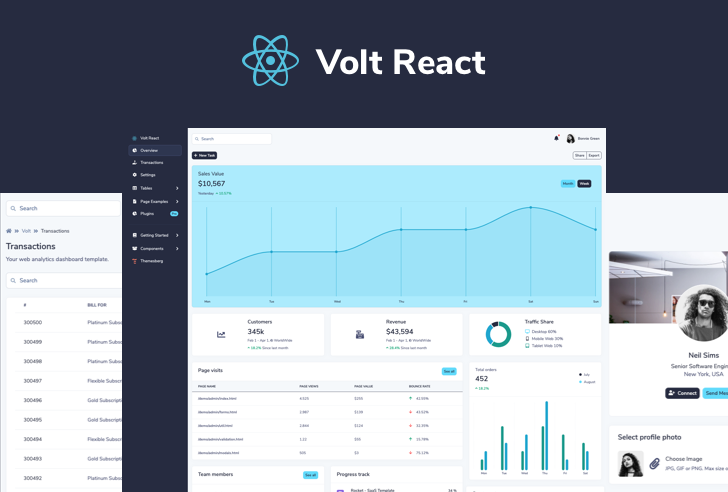 |
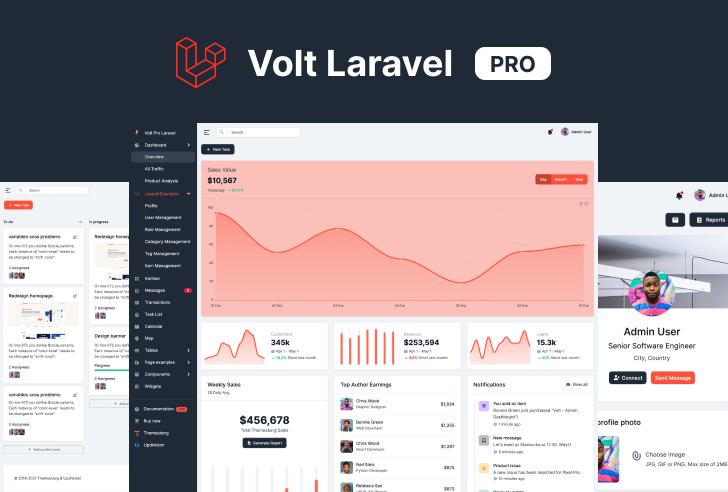 |
| Sign in | Sign up | Profile | Reset password |
|---|---|---|---|
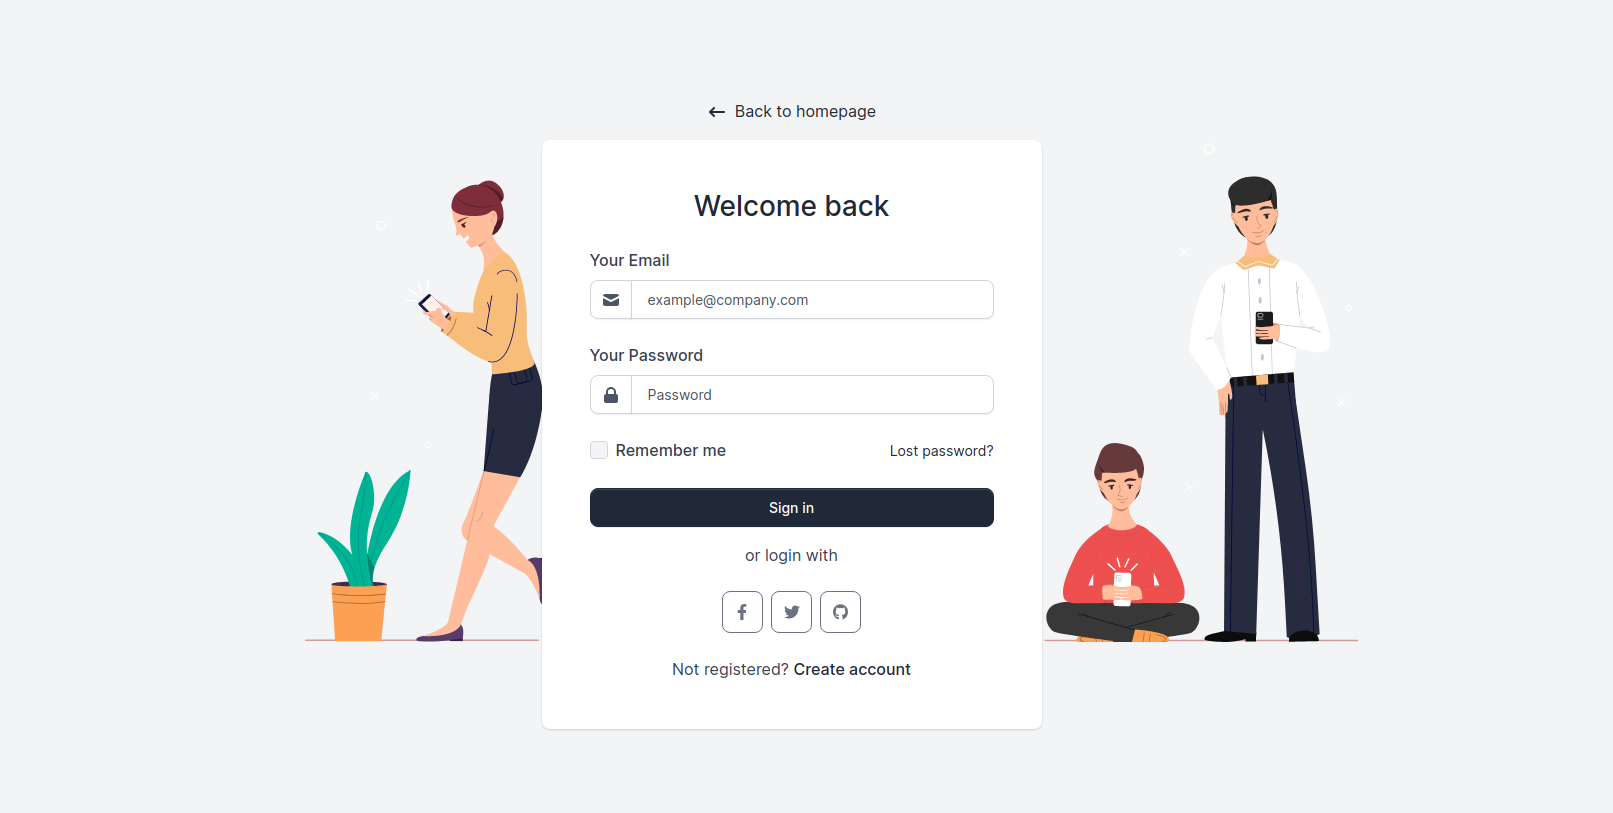 |
 |
 |
 |
| User Management | Role Management | Category Management |
|---|---|---|
 |
 |
 |
| Tag Management | Item Management |
|---|---|
 |
 |
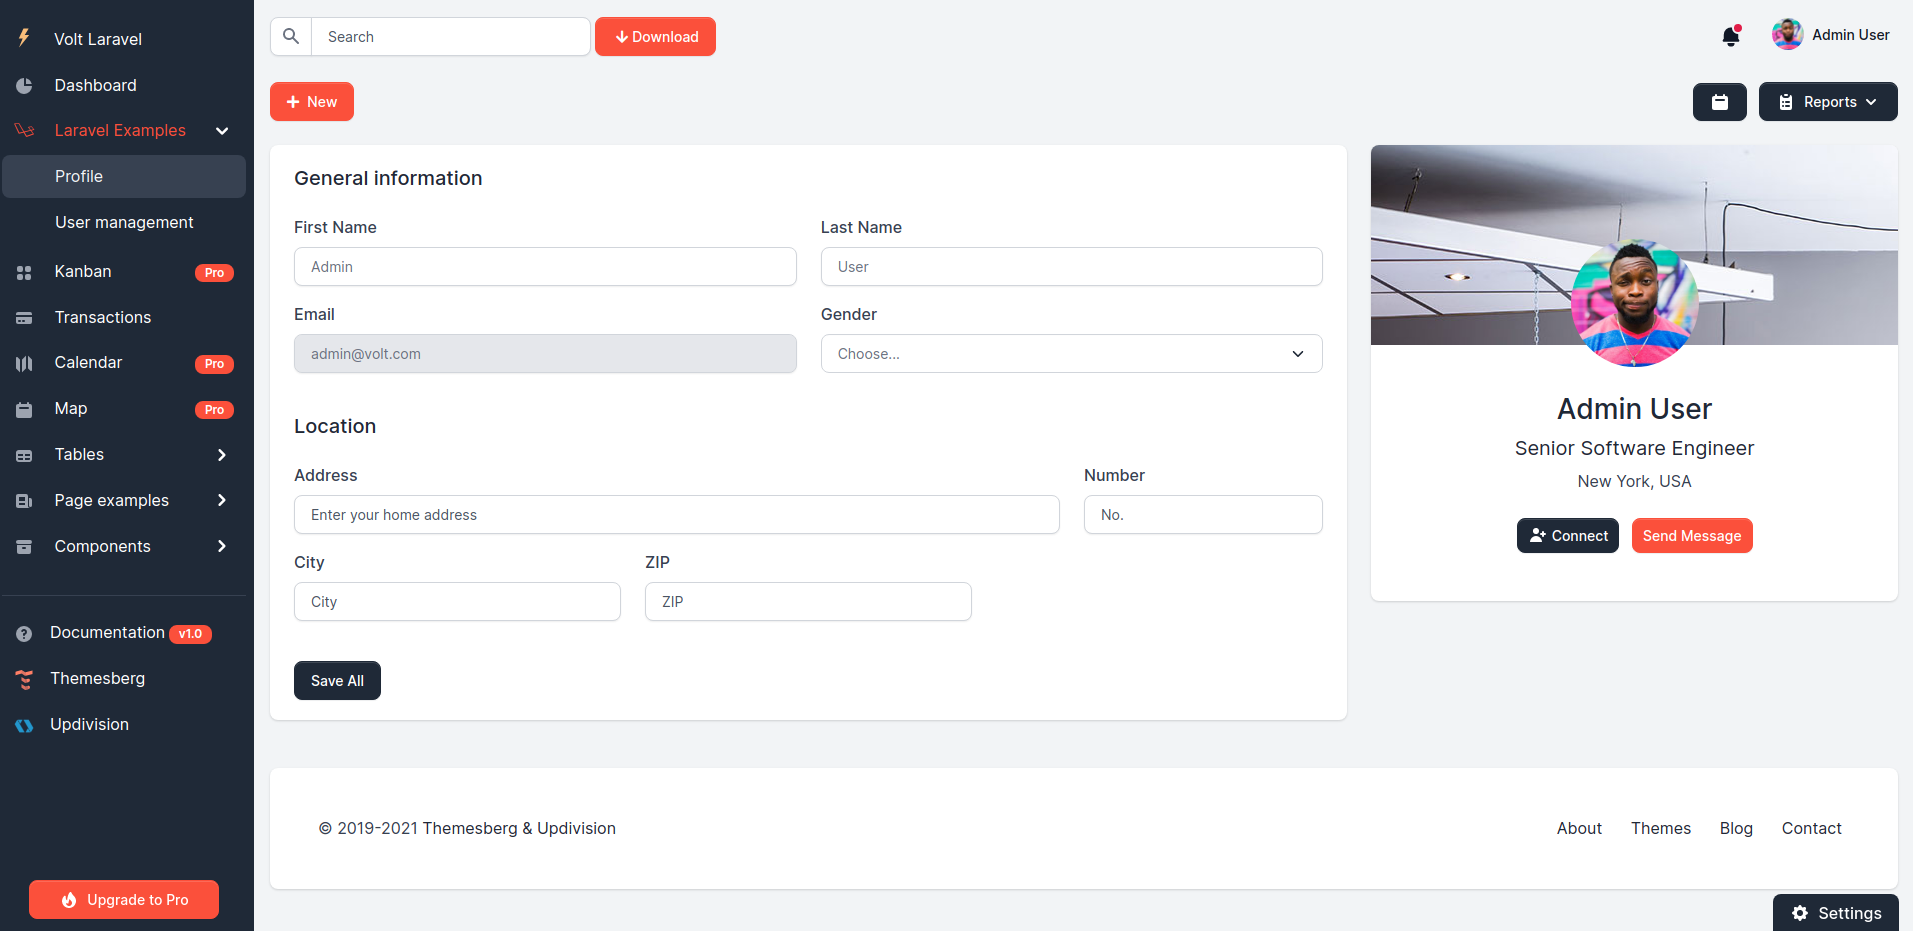
| Dashboard | Transactions | Profile | Forms |
|---|---|---|---|
 |
 |
 |
 |
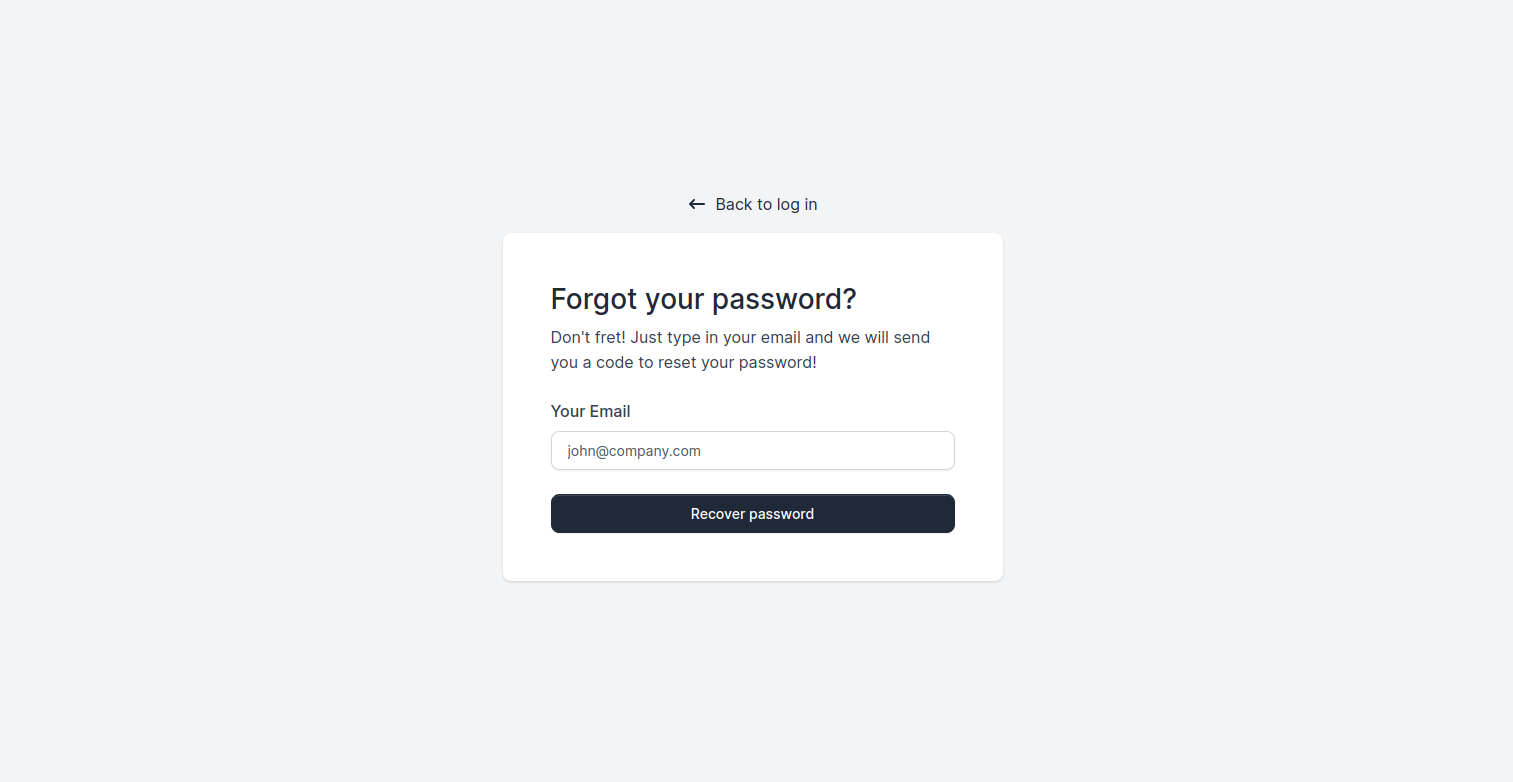
| Sign in | Sign up | Forgot password | Reset password |
|---|---|---|---|
|
|
 |
|
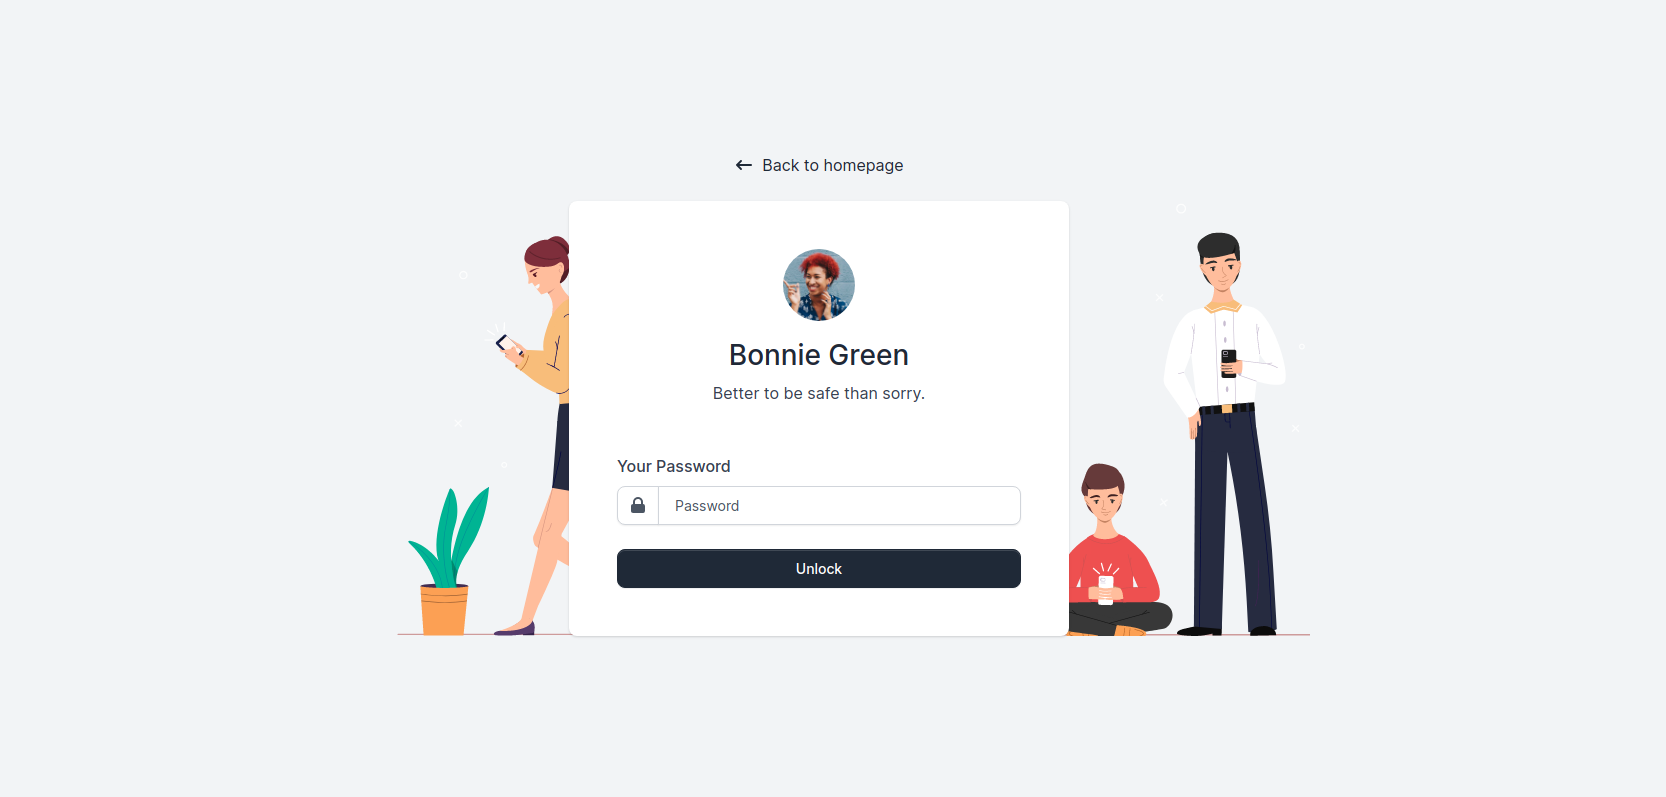
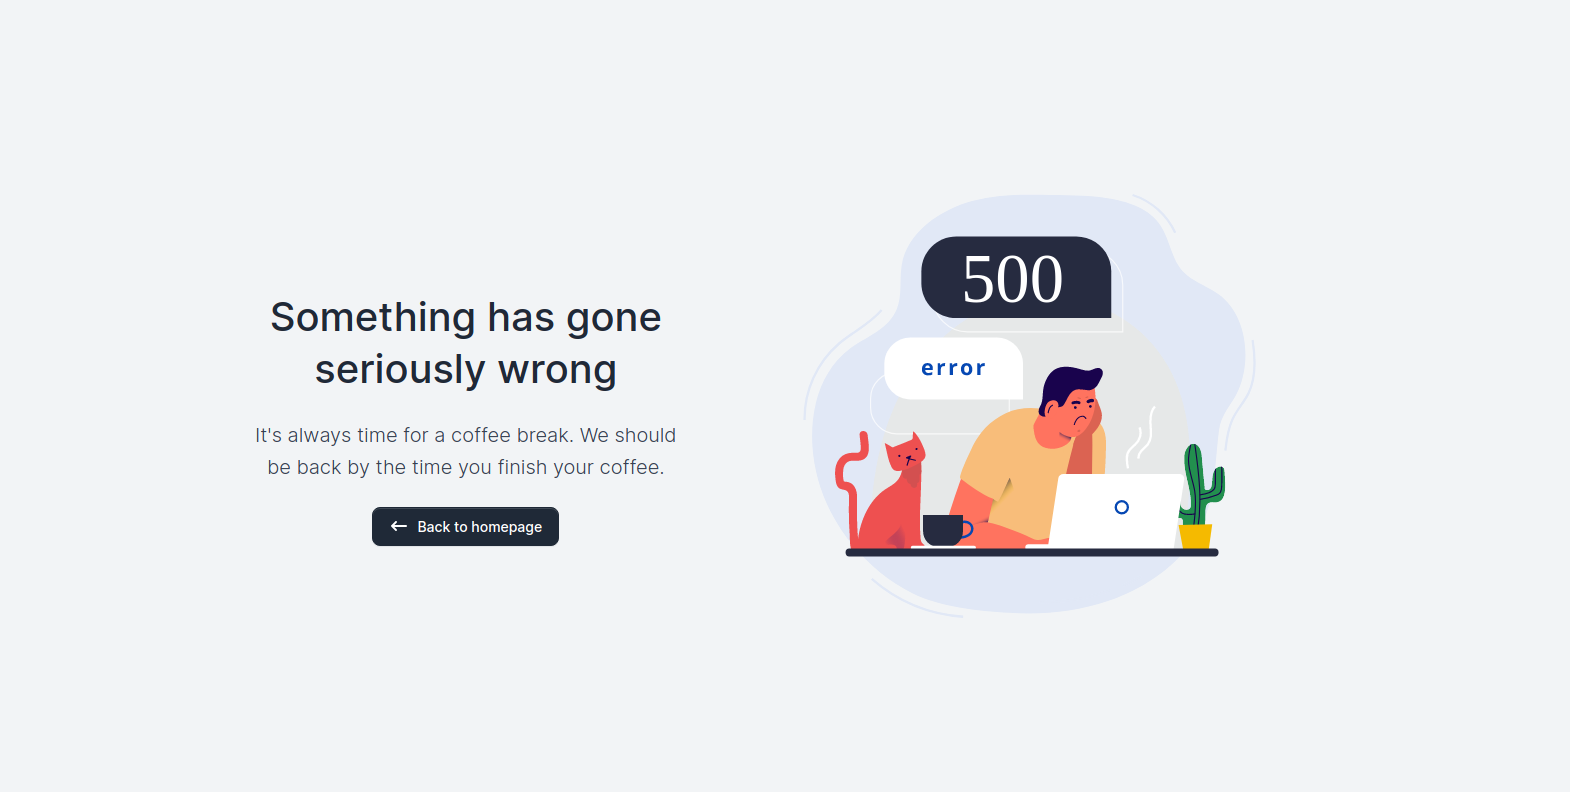
| Lock Profile | 404 Not Found | 500 Server Error | Documentation |
|---|---|---|---|
 |
 |
 |
 |
If you don't already have an Apache local environment with PHP and MySQL, use one of the following links:
- Windows: https://updivision.com/blog/post/beginner-s-guide-to-setting-up-your-local-development-environment-on-windows
- Linux & Mac: https://updivision.com/blog/post/guide-what-is-lamp-and-how-to-install-it-on-ubuntu-and-macos
Also, you will need to install Composer: https://getcomposer.org/doc/00-intro.md
- Download the project’s zip then copy and paste volt-dashboard-master folder in your projects folder. Rename the folder to your project’s name
- Make sure you have Node and Composer locally installed.
3.Run the following command in order to download all the project dependencies.
composer install - In your terminal run
npm install - Copy
.env.exampleto.envand updated the configurations (mainly the database configuration) - In your terminal run
php artisan key:generate - Run
php artisan migrate --seedto create the database tables and seed the roles and users tables - Run
php artisan storage:linkto create the storage symlink (if you are using Vagrant with Homestead for development, remember to ssh into your virtual machine and run the command from there).
To start testing the theme, register as a user or log in using one of the default users:
- admin type - admin@paper.com with the password secret
- creator type - creator@paper.com with the password secret
- member type - member@paper.com with the password secret
Make sure to run the migrations and seeders for the above credentials to be available.
In addition to the features included in the free preset, the Pro theme also has a role management example with an updated user management, as well as tag management, category management and item management examples. All the necessary files (controllers, requests, views) are installed out of the box and all the needed routes are added to routes/web.php. Keep in mind that all the features can be viewed once you log in using the credentials provided above or by registering your own user.
Each role has a different privilege level and can perform a certain number of actions according to this level.
A member type user can log in, update his profile and view a list of added items.
A creator type user can log in, update his profile and perform actions on categories, tags and items.
A admin type user can log in, update his profile and perform actions on categories, tags, items, roles and users.
You can access the dashboard either by using the "Dashboard" link in the left sidebar or by adding /dashboard in the URL.
You have the option to edit the current logged in user's profile information (name, email, profile picture) and password. To access this page, just click the "Profile" link in the left sidebar or add /profile in the URL.
The app/Http/Livewire/Profile.php handles the update of the user information and password.
    public function mount() { $this->user = auth()->user(); }

    public function save()
    {
        $this->validate();

        $this->user->save();

        $this->showSavedAlert = true;

        }
    }
If you input the wrong data when editing the profile, don't worry. Validation rules have been added to prevent this.
    protected $rules = [
        'user.first_name' => 'max:15',
        'user.last_name' => 'max:20',
        'user.birthday' => 'date_format:Y-m-d',
        'user.email' => 'email',
        'user.phone' => 'numeric',
        'user.gender' => '',
        'user.address' => 'max:20',
        'user.number' => 'numeric',
        'user.city' => 'max:20',
        'user.zip' => 'numeric',
    ];
You have the option to log in using the email and password. To access this page, just click the "Laravel examples / Sign in" link in the left sidebar or add /sign-in in the URL.
The app/Http/Livewire/Auth/SignIn.php handles the log in process and validation.
   protected $rules = [
        'email' => 'required|email',
        'password' => 'required',
    ];

    public function login()
    {
        $credentials = $this->validate();
        return auth()->attempt($credentials)
                ? redirect()->intended('/profile')
                : $this->addError('email', trans('auth.failed'));
    }
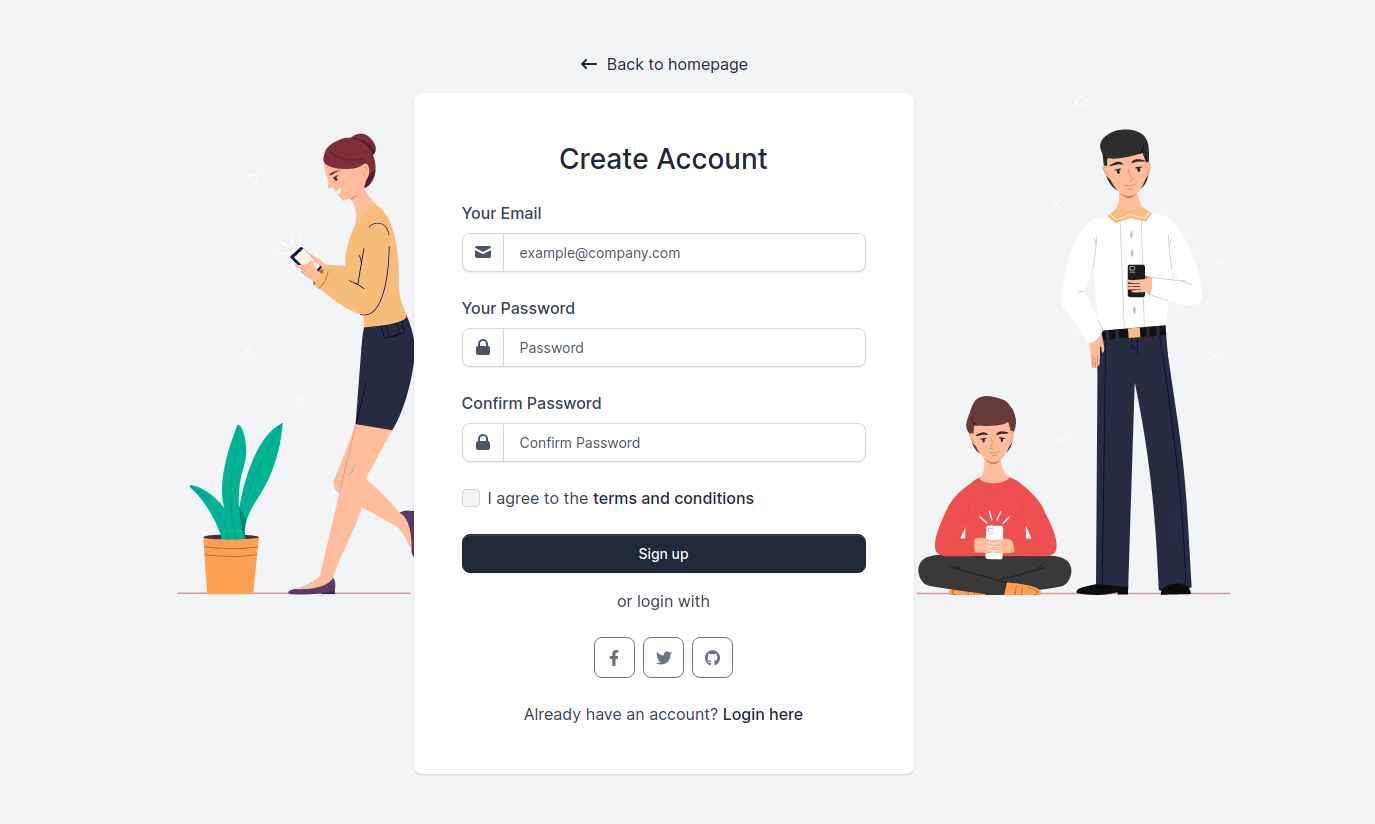
You have the option to register an user using the email and password. To access this page, just click the "Laravel examples / Sign up" link in the left sidebar or add /sign-up in the URL.
The app/Http/Livewire/Auth/SignUp.php handles the register process and validation.
    public function register()
    {
        $this->validate([
            'email' => 'required',
            'password' => 'required|same:passwordConfirmation|min:6',
        ]);

        $user = User::create([
            'email' =>$this->email,
            'password' => Hash::make($this->password),
            'remember_token' => Str::random(10),
        ]);

        auth()->login($user);

        return redirect('/profile');
    }
You have the option to send an email containing the password reset link to an user. To access this page, just click the "Laravel examples / Forgot password" link in the left sidebar or add /forgot-password in the URL.
The app/Http/Livewire/ForgotPassword.php handles the email submission process.
    public function recoverPassword() {
        $this->validate();
        $user=User::where('email', $this->email)->first();
        $this->notify(new ResetPassword($user->id));
        $this->mailSentAlert = true;
        }
    }
The app/Notifications/ResetPassword.php handles the email submission itself. Here you can edit the overall layout of the email.
    public function toMail($notifiable)
    {
        $url = URL::signedRoute('reset-password', ['id' => $this->token]);
        return (new MailMessage)
                    ->subject('Reset your password')
                    ->line('Hey, did you forget your password? Click the button to reset it.')
                    ->action('Reset Password', $url)
                    ->line('Thank you for using our application!');
    }
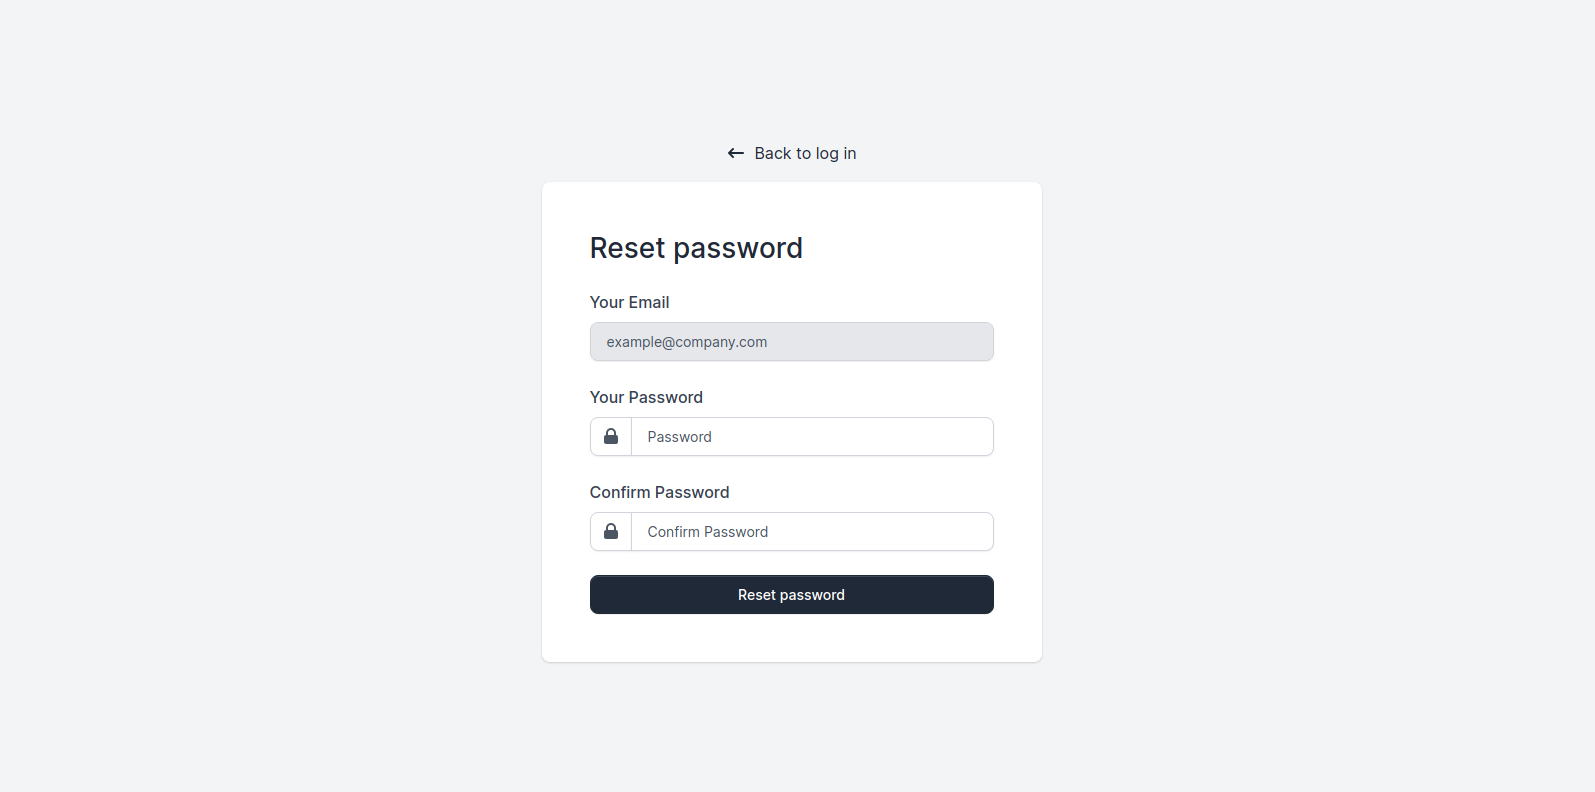
The email sent through the forgot password process will send the user to an unique link containing the password reset form. To access an example of this page, just click the "Laravel examples / Reset password" link in the left sidebar or add /reset-password-example in the URL.
The app/Http/Livewire/ResetPassword.php handles the password reset process and validation.
    public function resetPassword() {
        $this->validate();
        $existingUser = User::where('email', $this->email)->first();
        if($existingUser && $existingUser->id == $this->urlId) {
            $existingUser->update([
                'password' => Hash::make($this->password)
            ]);
            $this->isPasswordChanged = true;
            $this->wrongEmail = false;
        }
        else {
            $this->wrongEmail = true;
        }
    }
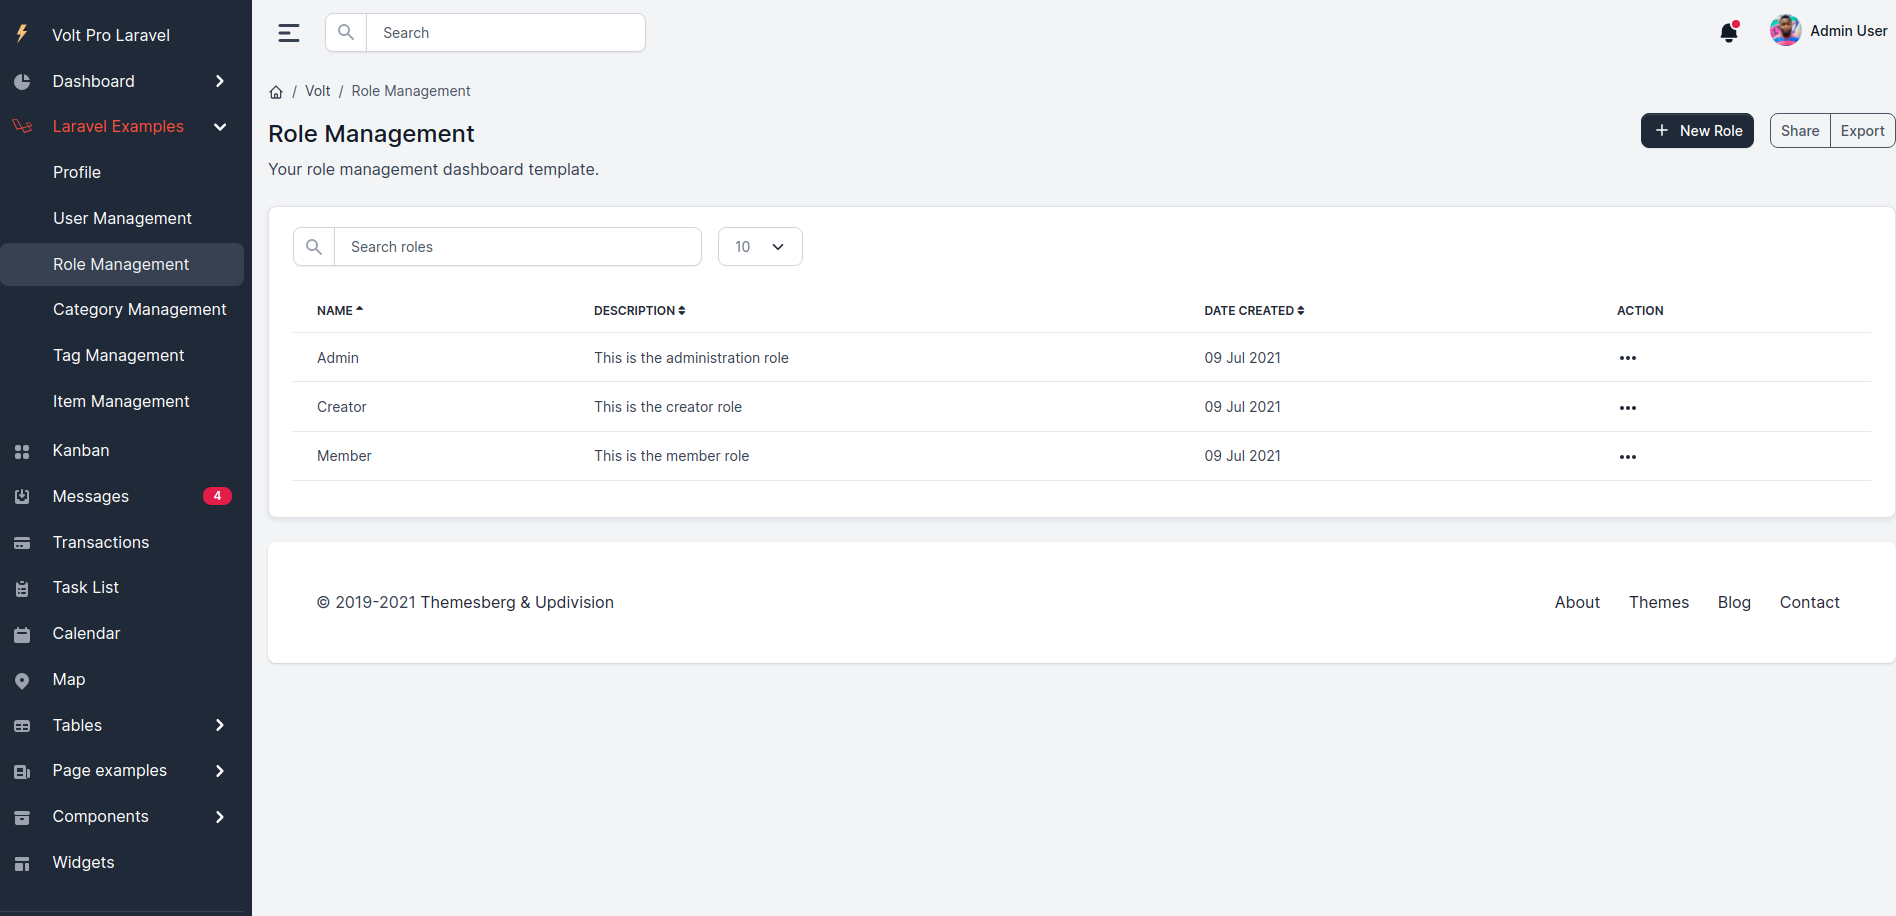
The Pro theme allows you to add user roles. By default, the theme comes with Admin, Creator and Member roles. To access the role management example click the “Laravel Examples/Role Management” link in the left sidebar or add /roles to the URL. Here you can add/edit new roles. To add a new role click the “Add role” button and to edit an existing role click the dotted menu (available on every table line) and then click “Edit”. In both cases, you will be directed to a form which allows you to modify the name and description of a role
The policy which authorizes the user to access the role management option is implemented in App\Policies\RolePolicy.php.
    public function render() {
        return view('livewire.roles', [
            roles' => Role::searchMultipleRoles($this->fields, $this->search)
                    ->orderBy($this->sortField, $this->sortDirection)
                    ->paginate($this->entries),
        ]);
    }
The theme comes with an out of the box user management option. To access this option ,click the “Laravel Examples/User Management” link in the left sidebar or add /users to the URL. The first thing you will see is a list of existing users. You can add new ones by clicking the “Add user” button (above the table on the right). On the Add user page, you will find a form which allows you to fill out the user`s name, email, role and password. All pages are generated using blade templates:
<div class="col-md-12 mb-3">
    <div>
        <label for="name">{{__('Name')}}</label>
        <input wire:model="name" class="form-control @error('name') is-invalid @enderror" id="name"
            type="text" placeholder="Name" required>
    </div>
    @error('name') <div class="invalid-feedback">{{ $message }}</div> @enderror
</div>
Validation rules were added to prevent errors in the form fields (see App\Http\Livewire\NewUser.php). Note that these validation rules also apply for the user edit option.
protected function rules()
    {
        return [
            'email' => 'email|required|unique:users',
            'first_name' => 'max:15',
            'last_name' => 'max:20',
            'phone' => '',
            'status' => '',
            'role_id' => ['required', Rule::in(collect(DB::table('roles')->pluck('id')))],
            'password' => 'required|min:6|same:passwordConfirmation',
            'upload' => 'nullable|image|max:5000'
        ];
}
The Pro theme also comes with a tag management option. To access this example, click the “Laravel Examples/Tag Management” link in the left sidebar or add /tags to the URL. In this section you can add and edit tags, but you can only delete them if they are not attached to any items. You can add new ones by clicking the “Add tag” button (above the table on the right). You will then be directed to a form which allows you to add new tags. Although you can add in the form only the name and color of a tag, you can write your own migrations to extend this functionality.
public function delete($id)
    {
        $this->tag = Tag::find($id);
        if (count($this->tag->items) < 1) {
            $this->tag->delete();
            $this->showFailNotification = false;
            $this->showSuccessNotification = true;
        } else {
            $this->showSuccessNotification = false;
            $this->showFailNotification = true;
        }
    }
The policy which authorizes the user to access tags management pages is implemented in App\Policies\TagPolicy.php.
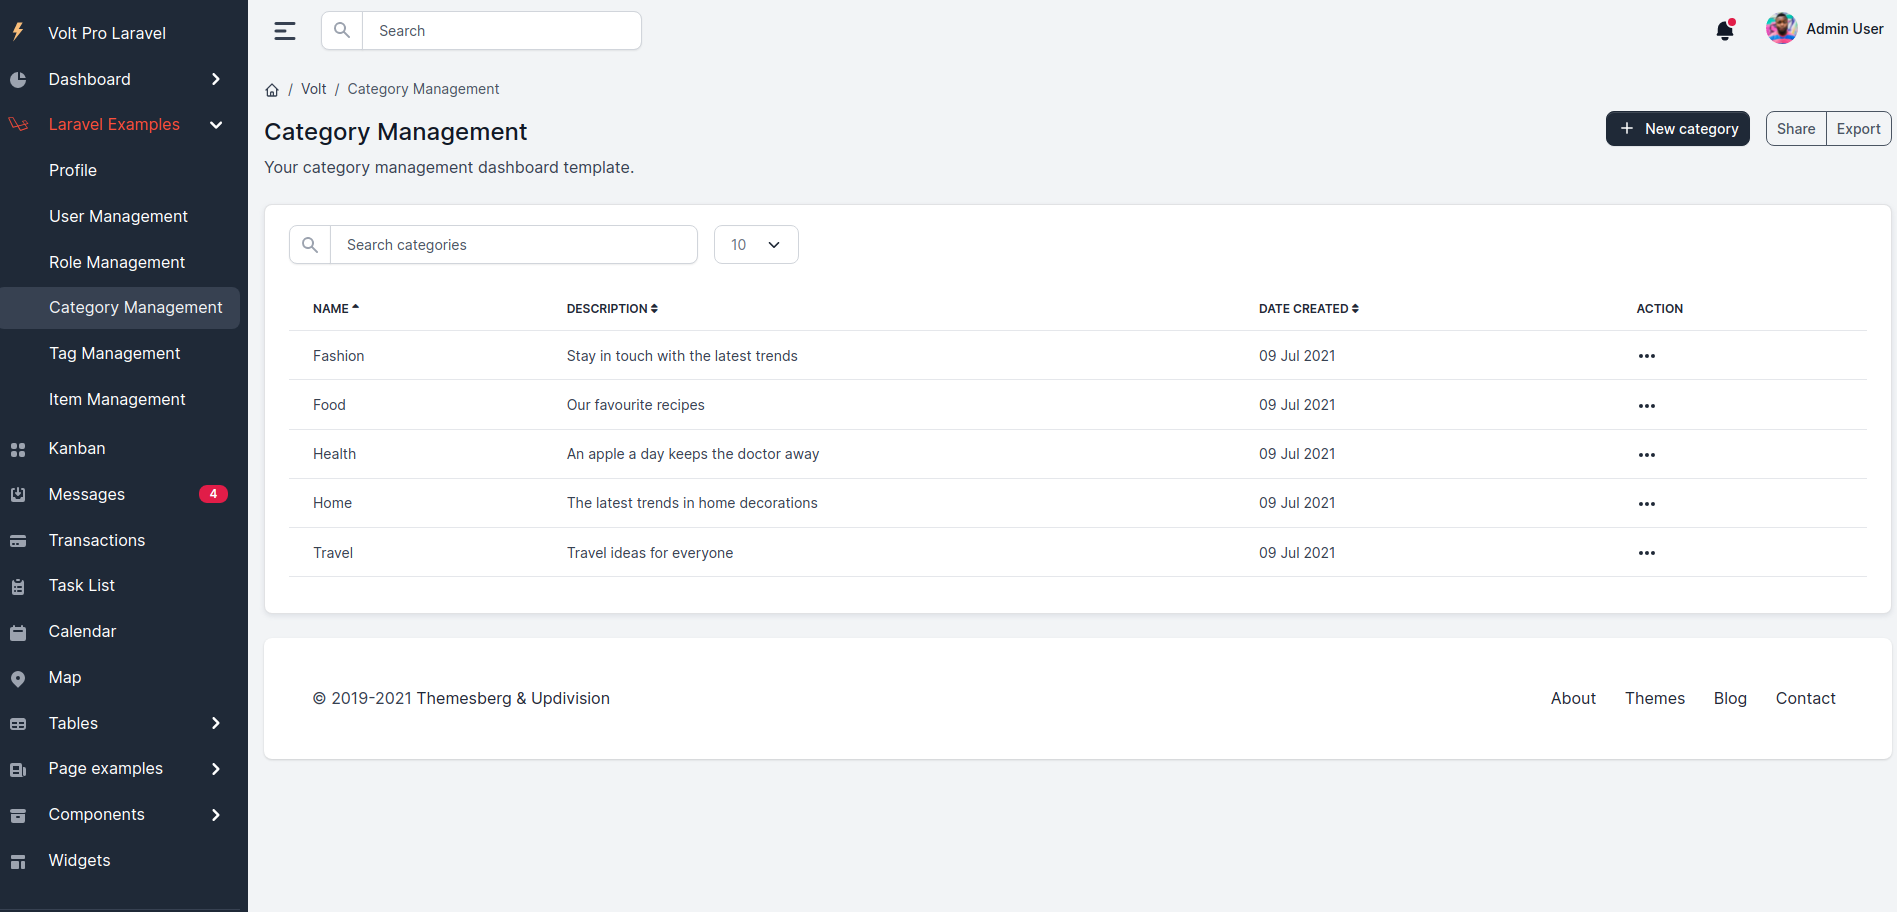
Out of the box you will have an example of category management (for the cases in which you are developing a blog or a shop). To access this example, click the “Laravel Examples/Category Management” link in the left sidebar or add /categories to the URL. You can add and edit categories here, but you can only delete them if they are not attached to any items.
The policy which authorizes the user on categories management pages is implemented in App\Policies\CategoryPolicy.php.
public function render()
          {
              return view('livewire.categories', [
                  'categories' => Category::searchMultipleRoles($this->fields, $this->search)
                                ->orderBy($this->sortField, $this->sortDirection)
                                ->paginate($this->entries),
              ]);
          }
Item management is the most advanced example included in the Pro theme, because every item has a picture, belongs to a category and has multiple tags. To access this example click the “Laravel Examples/Item Management” link in the left sidebar or add /items to the URL. Here you can manage the items. A list of items will appear once you start adding them (to access the add page click “Add item”). On the add page, besides the Name and Description fields (which are present in most of the CRUD examples) you can see a category dropdown, which contains the categories you added, a file input and a tag multi select. If you did not add any categories or tags, please go to the corresponding sections (category management, tag management) and add some.
            $item = Item::create([
                'name' => $this->name,
                'category_id' => $this->category_id,
                'excerpt' => $this->excerpt,
                'description' => $this->description,
                'date' => $this->date,
                'status' => $this->status,
                'show_on_homepage' => $this->showOnHomepage,
                'options' => $this->options
            ]);
The documentation for Volt Pro Admin Dashboard is hosted on our website.
Within the download you'll find the following directories and files:
.
├── bootstrap-tables.blade.php                  # Bootstrap tables page
├── calendar.blade.php                          # Calendar page
├── components
│   ├── button                                  # Dropdown button component
│   │   └── link.blade.php
│   ├── date-picker.blade.php                   # Datepicker component
│   ├── input                                   # Select input component
│   │   └── select.blade.php
│   ├── table                                   # Table template
│   │   ├── cell.blade.php
│   │   ├── heading.blade.php
│   │   └── row.blade.php
│   └── table.blade.php
├── dashboard                                   # All the dashboard pages
│   ├── app-analysis.blade.php
│   ├── dashboard.blade.php
│   └── traffic-sources.blade.php
├── datatables.blade.php
├── errors
│   ├── 404.blade.php                           # Error 404 page
│   └── 500.blade.php                           # Error 500 page
├── layouts
│   ├── app.blade.php                           # Including layouts based on routes
│   ├── base.blade.php                          # All the styles and scripts included
│   ├── footer2.blade.php                       # Footer for pages without sidenav
│   ├── footer.blade.php                        # Footer for pages with sidenav
│   ├── nav.blade.php                           # Nav for mobile view
│   ├── sidenav.blade.php                       # The sidebar menu
│   └── topbar.blade.php                        # Search bar, notifications and user area
├── livewire
│   ├── auth                                    # Handles auth routes (login, register, logout, reset password)
│   │   ├── forgot-password.blade.php
│   │   ├── logout.blade.php
│   │   ├── reset-password.blade.php
│   │   ├── sign-in.blade.php
│   │   └── sign-up.blade.php
│   ├── categories.blade.php                    # Categories table
│   ├── components
│   │   ├── buttons.blade.php                   # Buttons page
│   │   ├── forms.blade.php                     # Forms page
│   │   ├── modals.blade.php                    # Modals page
│   │   ├── notifications.blade.php             # Notifications page
│   │   └── typography.blade.php                # Typography page
│   ├── edit-category.blade.php
│   ├── edit-item.blade.php
│   ├── edit-role.blade.php
│   ├── edit-tag.blade.php
│   ├── edit-user.blade.php
│   ├── examples                                # Examples pages
│   │   ├── billing.blade.php
│   │   ├── err404.blade.php
│   │   ├── err500.blade.php
│   │   ├── forgot-password-example.blade.php
│   │   ├── invoice.blade.php
│   │   ├── lock.blade.php
│   │   ├── pricing.blade.php
│   │   ├── profile-example.blade.php
│   │   ├── reset-password-example.blade.php
│   │   ├── sign-in-example.blade.php
│   │   └── sign-up-example.blade.php
│   ├── items.blade.php                         # Items table
│   ├── kanban.blade.php                        # Kanban page
│   ├── messages.blade.php                      # Messages page
│   ├── new-category.blade.php
│   ├── new-item.blade.php
│   ├── new-role.blade.php
│   ├── new-tag.blade.php
│   ├── new-user.blade.php
│   ├── profile.blade.php                       # Profile page
│   ├── roles.blade.php                         # Roles table
│   ├── single-message.blade.php                # Single message page
│   ├── tags.blade.php                          # Tags table
│   ├── users.blade.php                         # Users table
│   └── widgets.blade.php                       # Widgets page
├── map.blade.php                               # Map page
├── tasks.blade.php                             # Tasks page
├── transactions.blade.php                      # Transactions page
At present, we officially aim to support the last two versions of the following browsers:


- Demo: https://volt-pro-laravel-admin-dashboard.updivision.com/dashboardindex.html
- Download Page: https://themesberg.com/product/laravel/volt-pro-admin-dashboard-template
- Documentation: https://volt-pro-laravel-admin-dashboard.updivision.com/documentation/getting-started/overview/index.html
- License Agreement: https://themesberg.com/licensing
- Support: https://themesberg.com/contact
- Issues: Premium support
We use GitHub Issues as the official bug tracker for Volt Pro. Here are some advices for our users that want to report an issue:
- Make sure that you are using the latest version of the Volt Pro. Check the CHANGELOG from your dashboard on our website.
- Providing us reproducible steps for the issue will shorten the time it takes for it to be fixed.
- Some issues may be browser specific, so specifying in what browser you encountered the issue might help.
If you have questions or need help integrating the product please contact us instead of opening an issue.
-
Copyright 2021 Themesberg (Crafty Dwarf SRL) (https://themesberg.com/)
-
Themesberg license
- More themes from Themesberg
- Free themes from Themesberg
- Affiliate Program
Twitter: https://twitter.com/themesberg
Facebook: https://www.facebook.com/themesberg/
Dribbble: https://dribbble.com/themesberg
Instagram: https://www.instagram.com/themesberg/
Twitter: https://twitter.com/updivision?ref=pdl-readme
Facebook: https://www.facebook.com/updivision?ref=pdl-readme
Linkedin: https://www.linkedin.com/company/updivision?ref=pdl-readme
Updivision Blog: https://updivision.com/blog/?ref=pdl-readme
