An extension of flask web framework that erase the complexity of structuring flask project blueprint, packages, connecting other flask extensions, database migrations, and other annoying stuffs.


Install and update the latest release from pypi, we recomend you to create a virtual environment to avoid conflict (upgrade/downgrade of some of your system libraries) when installing flask_unity, this is just a recomendation, it still work even if you install it without using virtual environment. Basically the library was uploaded using sdist (Source Distribution) and bdist_wheel (Built Distribution), this software (library) is compatible and also tested with windows OS, linux, macOS and possibly can be compabible with others too!.
pip install --upgrade flask_unityAfter the installation paste either (one) of the following command on your termianl
    flask_unity -p schoolsite
    # or
    flask_unity --project schoolsite
This will create a project called schoolsite now cd into the schoolsite directory, if you do ls within the directory you just enter you will see a module called run.py, alembic.ini and some directories (some in the form of package) media, static, templates, migrations and a directory with the same name of your base directory name, in our case it is schoolsite.
Next make migrations by:
flask_unity db makemigrationsIf you do ls after making the migrations you will see it initiate a default.db file (an sqlite file) which is our default database. Apply the migrations:
flask_unity db migrateNote As soon as you create the project make migrations and apply the migrations to avoid errors!
Now ready to boot up the flask server by running the below command
python run.py bootVisit the local url http://127.0.0.1:5000 this will show you index page of your project
For you to start an app within your project schoolsite shutdown the flask development server by pressing CTRL+C and then run the following command, by giving the name you want your app to be, in our case we will call our app exam
python run.py create_app -a examthis will create an app (a new package called exam) within your project (schoolsite)
Once the app is created open a file schoolsite/routes.py and import your exam blueprint which is in (exam/views.py), default name given to an app blueprint, is the app name so our exam app blueprint name is exam, after importing it, append (register) the app blueprint in a function called reg_blueprints_func, which was assigned to reg_blueprints in that same file of schoolsite/routes.py
importing blueprint
from exam.views import examregistering blueprint
    reg_blueprints = reg_blueprints_func(
        base,
        exam,
    )
once you register the app, boot up the flask webserver again by
python run.py bootvisit http://127.0.0.1:5000 which is your project landing page
visit http://127.0.0.1:5000/exam this will take you to your app landing page (exam)
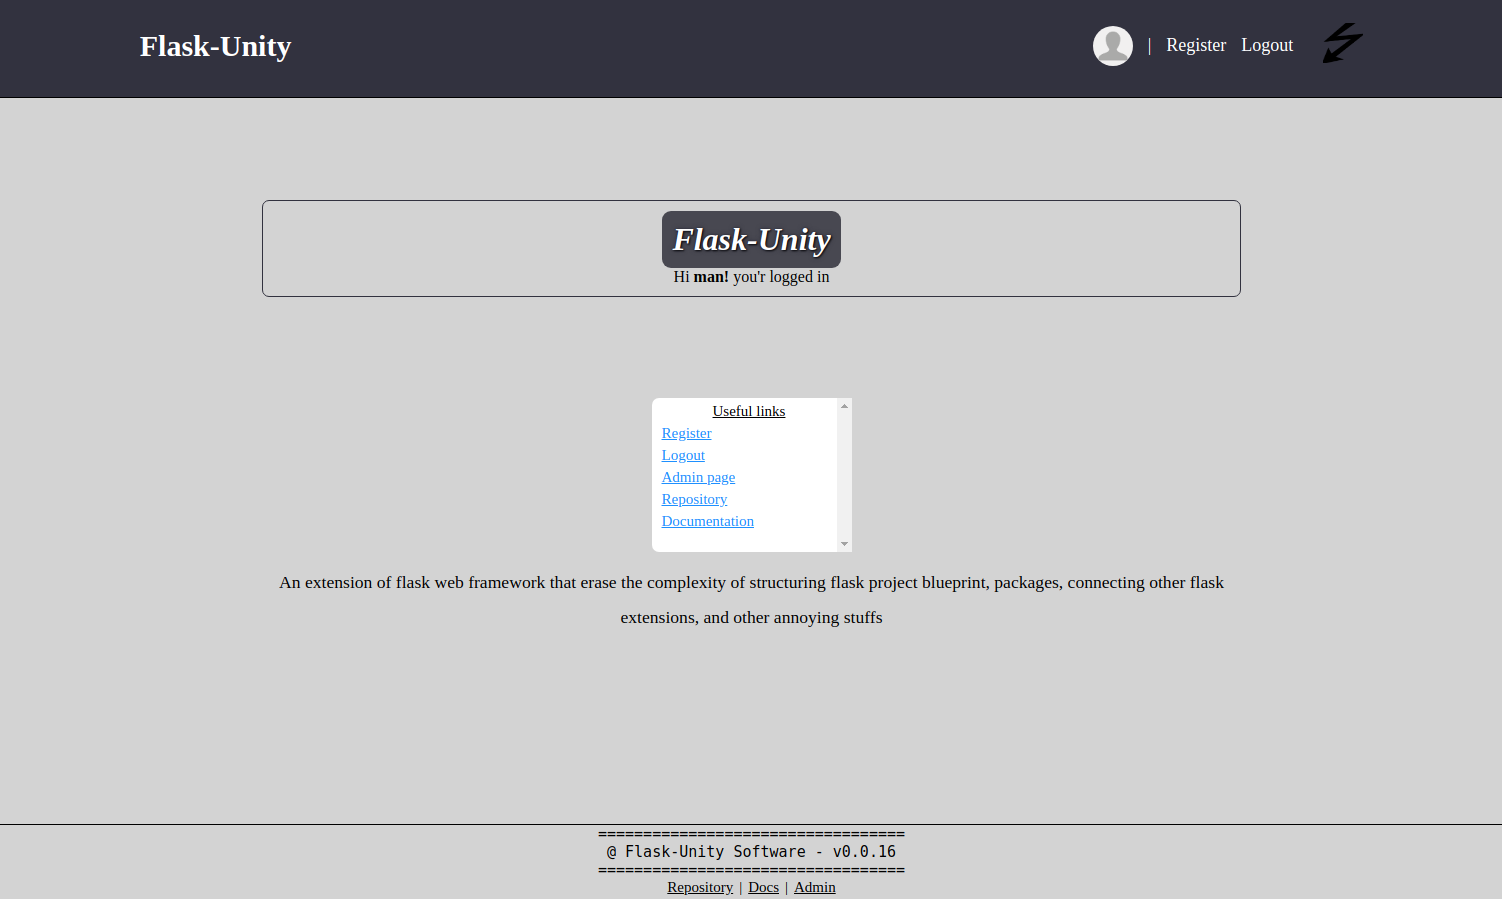
visit http://127.0.0.1:5000/admin this will take you to admin page. From there you are ready to go.
Tutorials here! More documentations here!
- Documentation: https://flask-unity.readthedocs.io
- Repository: https://github.com/usmanmusa1920/flask-unity
- PYPI Release: https://pypi.org/project/flask-unity
Pull requests are welcome
