
Note
Version 4 CometChat UI Kits
We’ve introduced a major update to our UI kits. Version 4 features a modular architecture that gives you enhanced flexibility to build and customize your web and mobile apps. Visit our documentation to read more about this.
Android Java Chat UI Kit
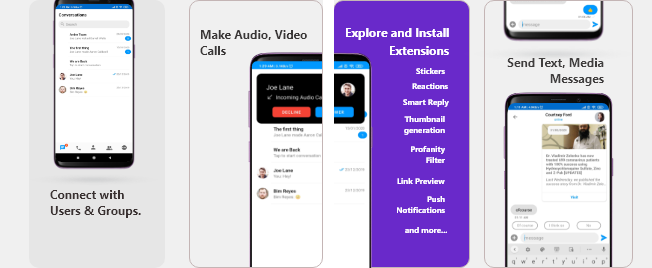
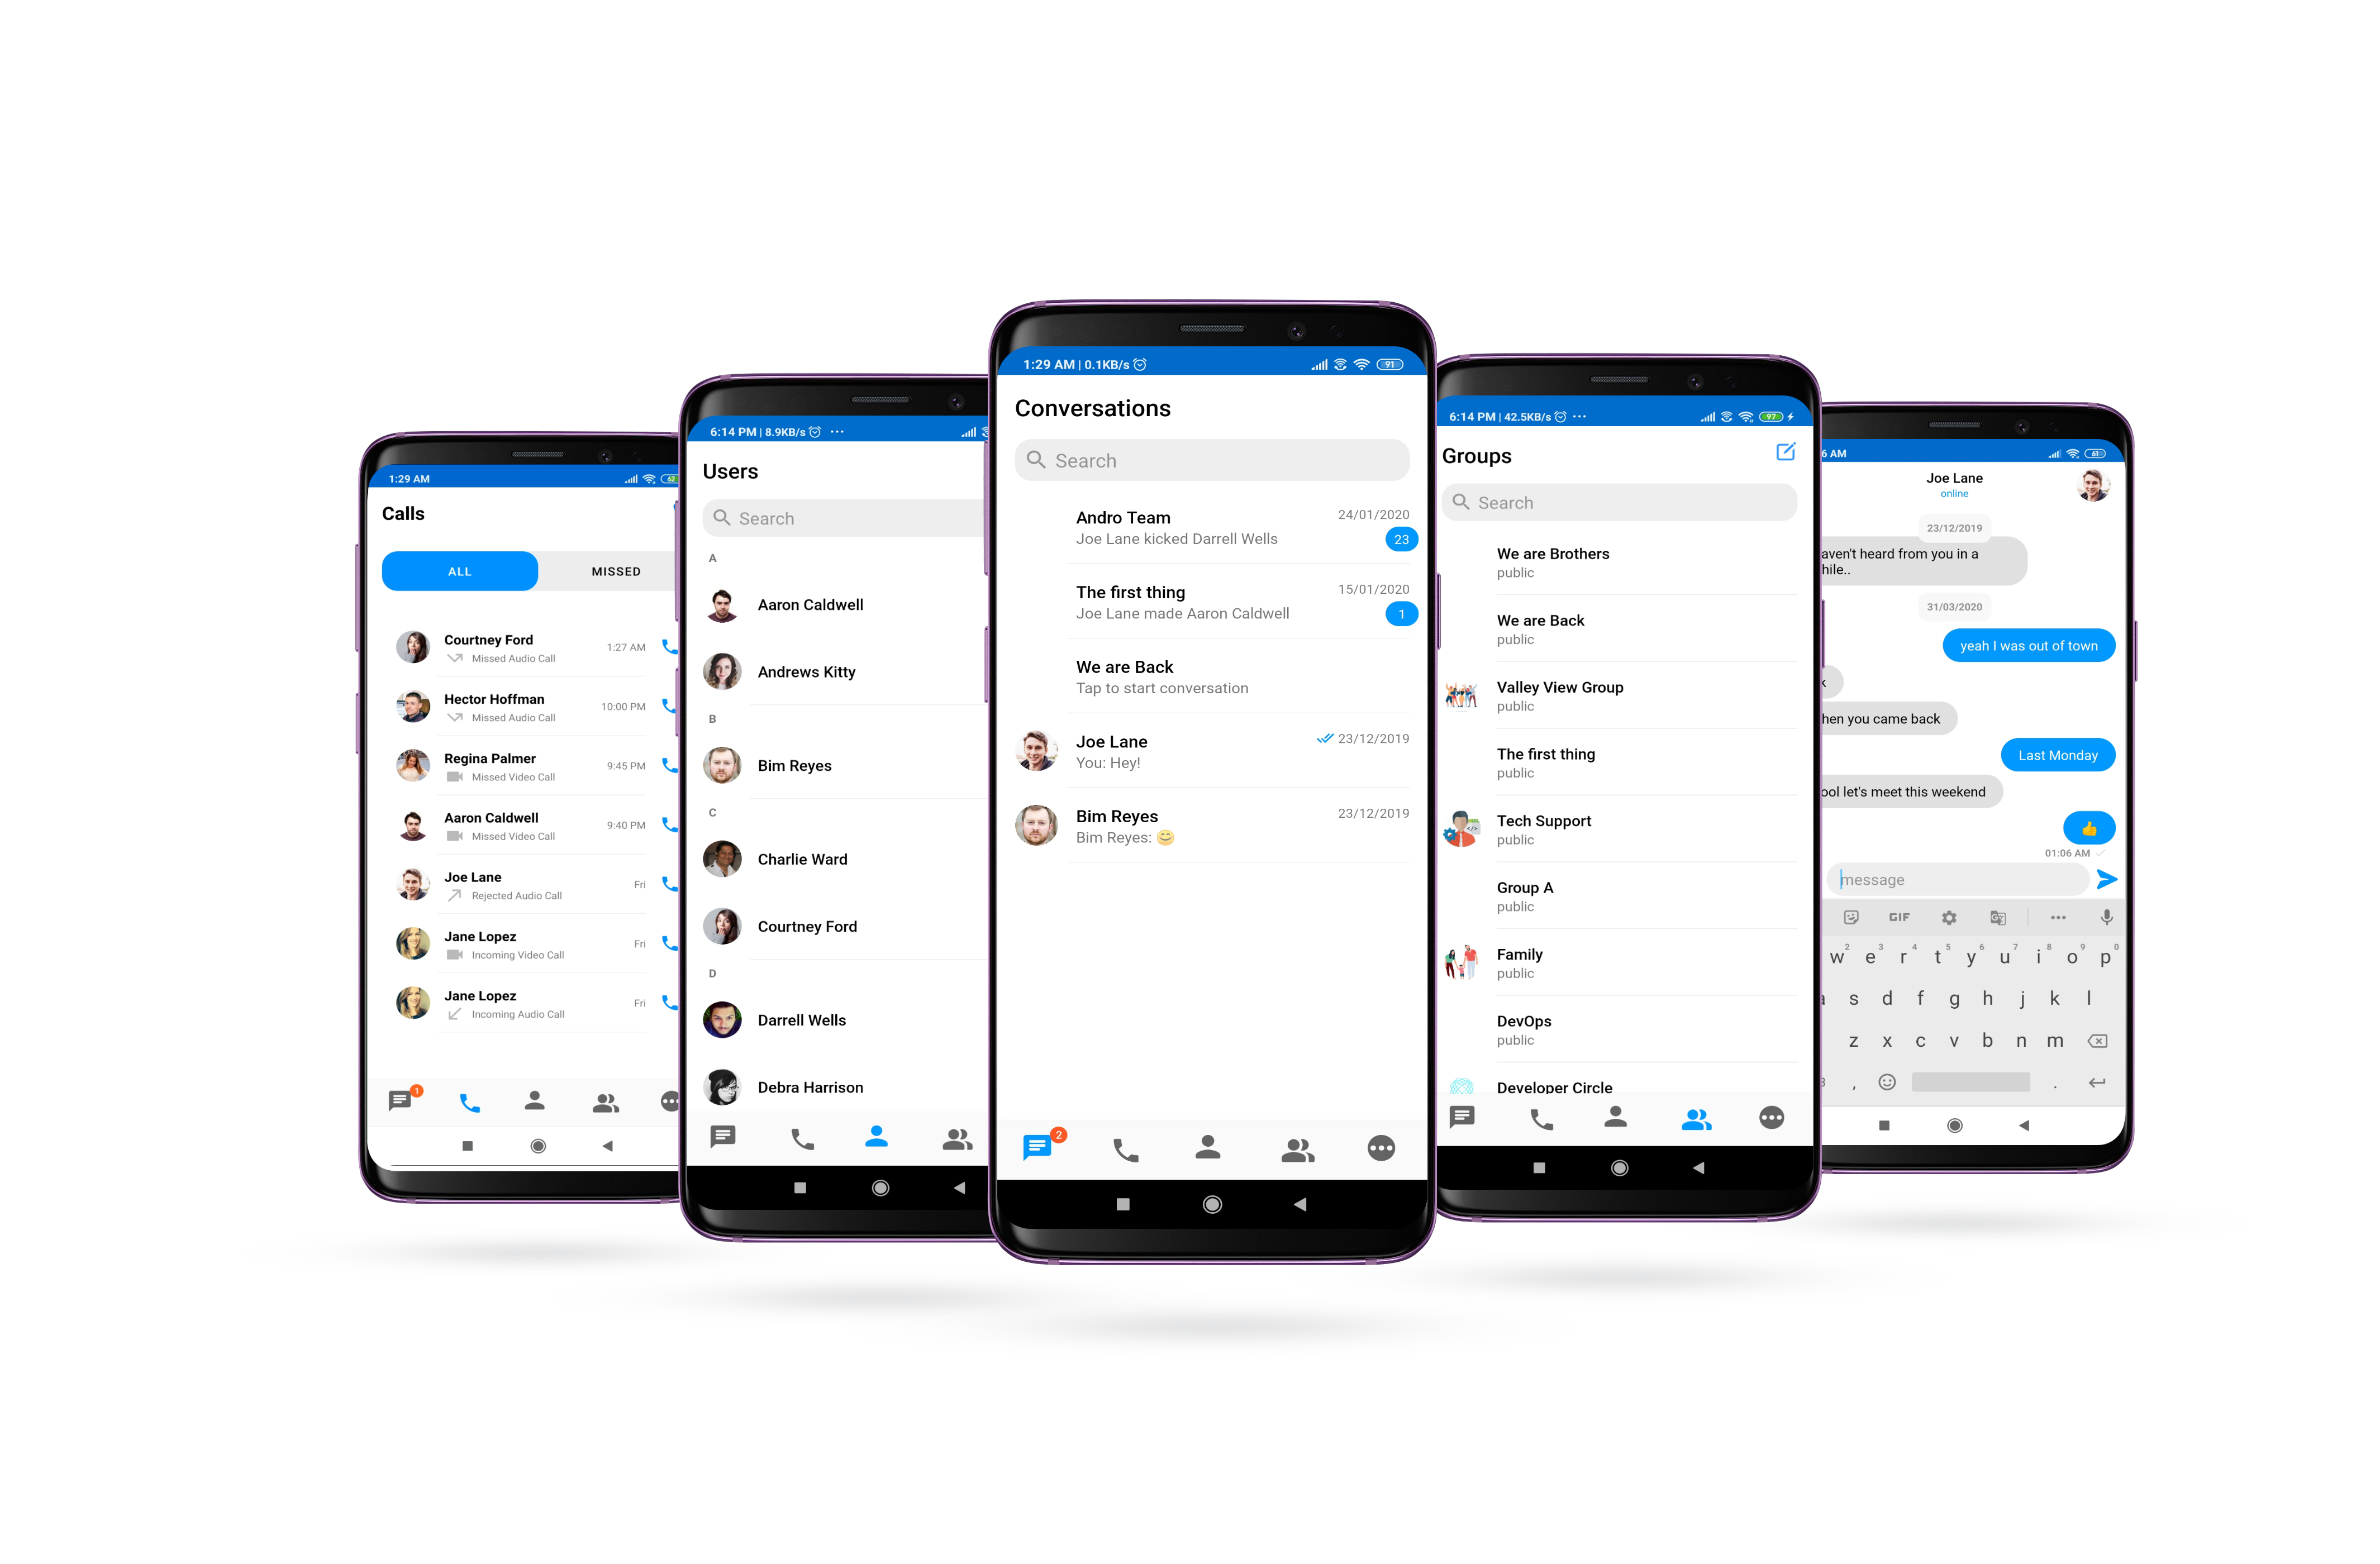
CometChat Java UI Kit is a collection of custom UI Components designed to build text chat and voice/video calling features in your application.
The UI Kit is developed to keep developers in mind and aims to reduce development efforts significantly


Prerequisites ⭐
Before you begin, ensure you have met the following requirements:
✅ You have Android Studio installed in your machine.
✅ You have a Android Device or Emulator with Android Version 6.0 or above.
✅ You have read CometChat Key Concepts.
Installing Android Java Chat UI Kit
Setup 🔧
To setup Android Chat UI Kit, you need to first register on CometChat Dashboard. Click here to sign up.
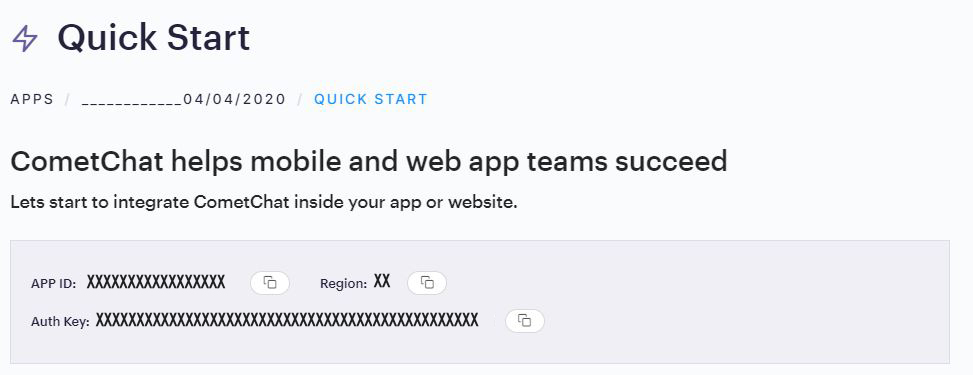
i. Get your Application Keys 🔑
- Create a new app: Click Add App option available → Enter App Name & other information → Create App
- You will find
APP_ID,AUTH_KEYandREGIONkey at top in QuickStart section or else go to "API & Auth Keys" section and copy theAPP_ID,AUTH_KEYandREGIONkey from the "Auth Only API Key" tab.
ii. Add the CometChat Dependency
Step 1 - Add the repository URL to the project level build.gradle file in the repositories block under the allprojects section.
allprojects {
  repositories {
    maven {
      url "https://dl.cloudsmith.io/public/cometchat/cometchat-pro-android/maven/"
    }
  }
} |
Step 2- Open the app level build.gradle file and follow below
- Add the below line in the dependencies section.
dependencies {
  implementation 'com.cometchat:pro-android-chat-sdk:3.0.9'

    /** From v2.4+ onwards, Voice & Video Calling functionality has been
    moved to a separate library. In case you plan to use the calling
    feature, please add the Calling dependency.**/
    implementation 'com.cometchat:pro-android-calls-sdk:2.2.0'
} |
- Add the below lines android section
android {
  compileOptions {
    sourceCompatibility JavaVersion.VERSION_1_8
    targetCompatibility JavaVersion.VERSION_1_8
  }
} |
You can refer to the below link for instructions on how to do so:
📝 Add CometChat Dependency
Configure CometChat SDK
i. Initialize CometChat 🌟
The init() method initializes the settings required for CometChat. Please make sure to call this method before calling any other methods from CometChat SDK.
import com.cometchat.pro.core.AppSettings;
import com.cometchat.pro.core.CometChat;
import com.cometchat.pro.exceptions.CometChatException;

String appID = "APP_ID"; // Replace with your App ID
String region = "REGION"; // Replace with your App Region ("eu" or "us")

AppSettings appSettings=new AppSettings.AppSettingsBuilder().subscribePresenceForAllUsers().setRegion(region).build();

CometChat.init(this, appID,appSettings, new CometChat.CallbackListener<String>() {
  @Override
  public void onSuccess(String successMessage) {
    Log.d(TAG, "Initialization completed successfully");
  }
  @Override
  public void onError(CometChatException e) {
    Log.d(TAG, "Initialization failed with exception: " + e.getMessage());
  }
}); |
ℹ️ Note: Make sure to replace region and appID with your credentials.
|
|---|
ii. Login User 👤
Once you have created the user successfully, you will need to log the user into CometChat using the login() method.
import com.cometchat.pro.core.CometChat;
import com.cometchat.pro.exceptions.CometChatException;

String UID = "user1"; // Replace with the UID of the user to login
String authKey = "AUTH_KEY"; // Replace with your App Auth Key

 if (CometChat.getLoggedInUser() == null) {
     CometChat.login(UID, authKey, new CometChat.CallbackListener<User>() {

      @Override
      public void onSuccess(User user) {
        Log.d(TAG, "Login Successful : " + user.toString());
  }

   @Override
    public void onError(CometChatException e) {
        Log.d(TAG, "Login failed with exception: " + e.getMessage());
   }
 });
 } else {
   // User already logged in
} |
| ℹ️ Note - The login() method needs to be called only once. Also replace AUTH_KEY with your App Auth Key. |
|---|
📝 Please refer to our Developer Documentation for more information on how to configure the CometChat Pro SDK and implement various features using the same.
Add UI Kit Library
-
Simply clone the project from android-java-chat-ui-kit repository.
-
Import
uikitModule from Module Settings.( To know how to importuikitas Module visit this link ) -
If the Library is added successfully, it will look like mentioned in the below image.

-
Next steps is to adding necessary dependencies inside your app to integrate UI Kit.
- To use UI Kit you have to add Material Design Dependency as the UI Kit uses Material Design Components.
implementation 'com.google.android.material:material:<version>'Also please make sure that your app's theme should extend
Theme.MaterialComponents. Follow the guide on Getting started Material ComponentsThe following is the list of Material Components themes you can use to get the latest component styles and theme-level attributes.
Theme.MaterialComponents.NoActionBarTheme.MaterialComponents.Light.NoActionBarTheme.MaterialComponents.DayNight.NoActionBarTheme.MaterialComponents.DayNight.NoActionBar.BridgeUpdate your app theme to inherit from one of these themes, e.g.:
<style name="AppTheme" parent="Theme.MaterialComponents.Light.NoActionBar.Bridge">

    <!-- Customize your theme here. -->

    </style>
- Replace **YOUR_PACKAGE_NAME** with your application package name:
android { defaultConfig { manifestPlaceholders = [file_provider: "YOUR_PACKAGE_NAME"] //add your application package. } } -
As the UI Kit uses dataBinding you must enable dataBinding to use UI Kit.To configure your app to use data binding, add the dataBinding element to your `build.gradle` file in the app module, as shown in the following example:
android { ... dataBinding { enabled = true } } - Open the gradle.properties and check if the below stated line is present or not, if not then simply add it.
android.enableJetifier=true
- To use UI Kit you have to add Material Design Dependency as the UI Kit uses Material Design Components.
Launch CometChat UI
CometChat UI is a way to launch a fully working chat application using the UI Kit .In CometChat UI all the UI Screens and UI Components working together to give the full experience of a chat application with minimal coding effort.*
To use CometChat UI user has to launch CometChatUI class. Add the following code snippet to launch CometChatUI.
import com.cometchat.pro.uikit.ui_components.cometchat_ui.CometChatUI;

startActivity(new Intent(YourActivity.this,CometChatUI.class)); |
Checkout our sample apps
Java:
Visit our Java sample app repo to run the java sample app.
Kotlin:
Visit our Kotlin sample app repo to run the kotlin sample app.
Troubleshooting
-
To read the full documentation on UI Kit integration visit our Documentation .
-
Facing any issues while integrating or installing the UI Kit please connect with us via real time support present in CometChat Dashboard..
Contributors
Thanks to the following people who have contributed to this project:
👨💻 @vivekprajapati 💻
👨💻 @darshanbhanushali 💻
👨💻 @yadavmangesh 💻
Contribution guidelines for this project
📫 Contact
Contact us via real time support present in CometChat Dashboard.
License
This project uses the following license: LICENSE.
